

Deploying WordPress with MySQL on Top of Amazon EKS
A brief explanation of different tools and services used along with a complete walkthrough of the installation process


Whenever it comes to creating a website for any freelancing or business, WordPress was and is the first choice for millions of developers. Although the backend service stills use PHP even when advanced tools like Node.js, Django have revolutionized the ways for creating interactive and dynamic Web Applications.
The main reason as far I understand is the simplicity and fast development process. You do not have to be a Full Stack developer to create a website for a local grocery shop or a small business. WordPress is built in such a way that with a few button clicks, you are ready with a basic website. All these benefits portray how it is still the Market Leader among other Content Management Systems, even after nearly 2 decades of its launch.
A Move Towards Containerized Deployment
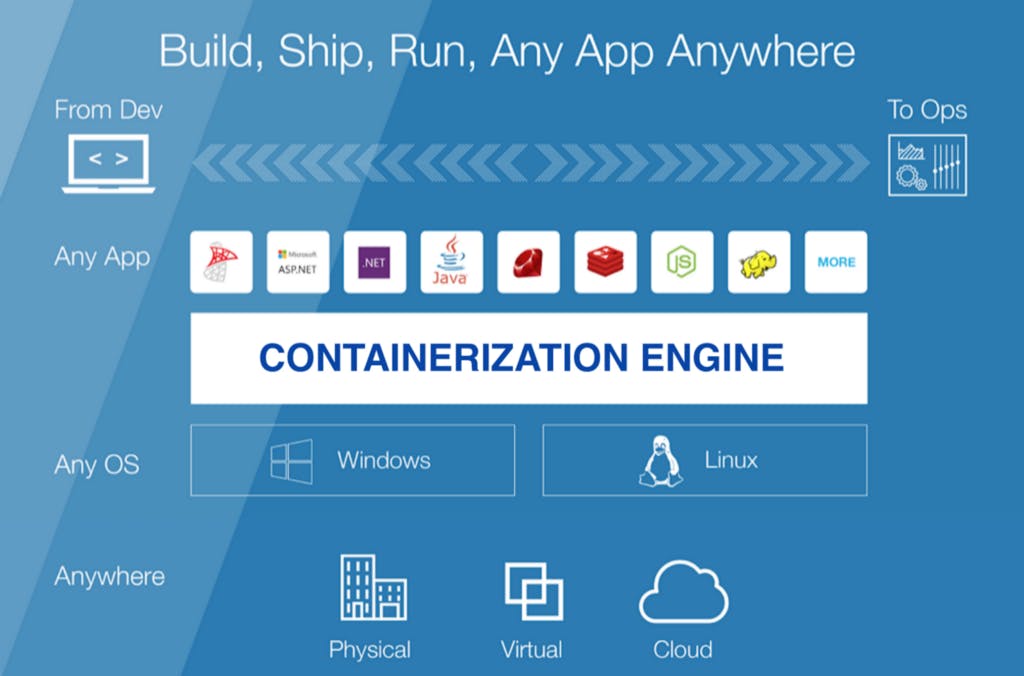
Containerization or the ability to build containers around any applications has changed the way deployment takes place in the age of Cloud-Ops. The concept of building containers has solved different kinds of problems faced in the traditional approach of deploying applications, mostly security and portability. Docker, Podman and Cri-o are some of the tools which manage the procedure of creating containers for applications. Once containers are created, they can be run on any system irrespective of their configuration apart from the hardware requirements. Running Dockerized applications requires just a single line of code to start the containers!
Till now, it seems nice! But now imagine a situation where you are building a large application, preferably a Web Application with a dedicated frontend and a backend. Now you wish to follow a micro-service based architecture where you will be dockerizing the frontend and backend of the applications separately in different containers and then connecting them with different REST APIs. At this time, you have to handle 2 containers simultaneously. You have to make sure both the containers are running all the time and if any container crashes, you have to manually restart the services. The process further complicates when you are trying to create some more microservices to add more features to your container. At last, you will find it very difficult to handle and manage all containers together.
The need for Container Orchestration Services
Wouldn’t be it better if there’s a service that is continuously running in the background and is managing all the containers together? Whenever a container crashes, it would automatically re-launch it and when the traffic to the website increases, instantly it will scale up the infrastructure by deploying more containers to balance the load.
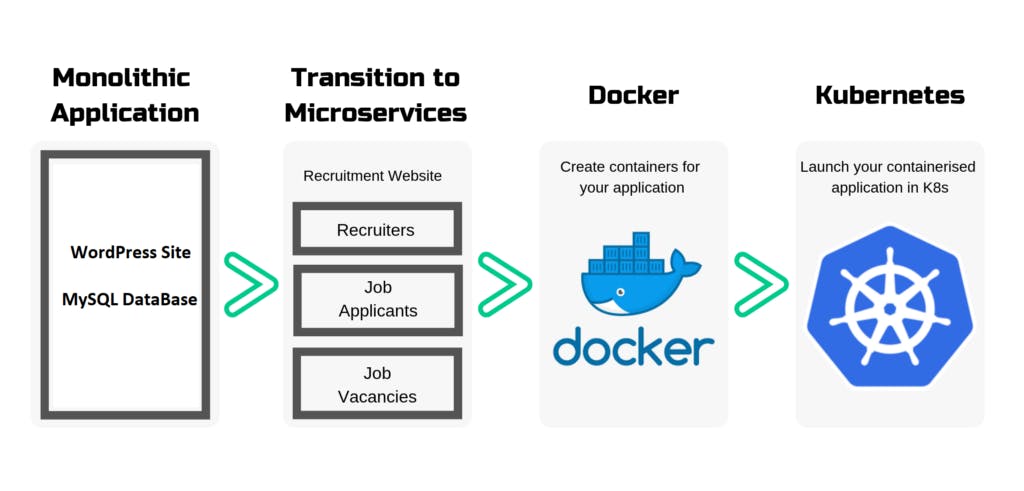
In Kubernetes, the atomic unit of scheduling in Pod. Pods are slightly different from containers. We can run multiple containers in a single pod but not vice-versa. This comes very conveniently when we have containers that are fully dependent on each other, e.g. WordPress and MySQL are dependent since all data from WordPress would be stored in MySQL.
Understanding the Architecture of Kubernetes
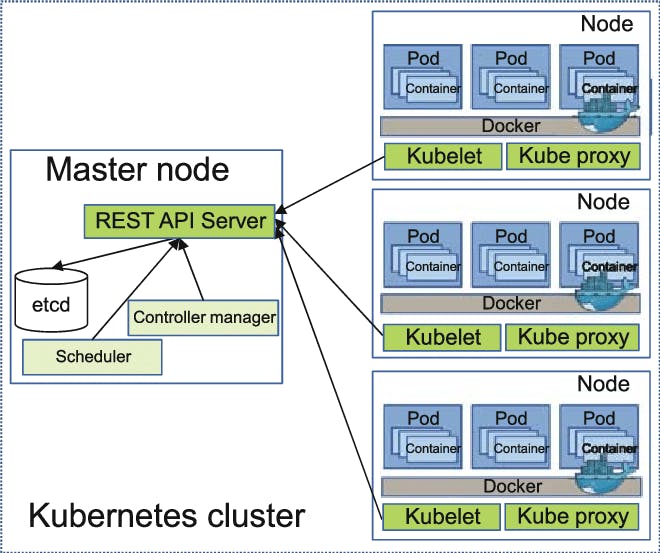
Whenever we work with K8s, we at first have to create a cluster. A cluster contains a Master node and several Worker nodes or slaves.
The job of the Master Node is to schedule and monitor the logs of the containers running inside the pods, present inside the Worker Nodes. Whenever a client requests a Pod to be launched to the Master, the client connects to the API server at port 6443 of the master. Then the Master takes the client request to the Kubelet program present at the Worker Nodes. Based on the request, the Kubelet program communicates with internal docker engine to perform the required job.
Some of the other services running across the cluster:
On Master Nodes:
- etc: It stores the configuration information which can be used by each of the nodes in the cluster. Here the Master store permanent data like secrets i.e key-value information, config files etc.
- API Server: Kubernetes is an API server that provides all the operations on the cluster using the API.
- Controller Manager: This component is responsible for most of the collectors that regulate the state of the cluster and performs a task.
- Scheduler: Responsible for workload utilization and allocating pod to the new node.
On Worker Nodes:
- Docker: The first requirement of each node is Docker which helps in running the encapsulated application containers in a relatively isolated but lightweight operating environment.
- Kubelet Service: This is a small service in each node responsible for relaying information to and from the control plane service. It interacts with etc store to read configuration details and wright values.
- Kubernetes Proxy Service: This is a proxy service that runs on each node and helps in making services available to the external host.
When running a Kubernetes cluster, one of the foremost challenges is deciding which cloud or datacenter it’s going to be deployed to. After that, you still need to filter your options when selecting the right network, user, storage, and logging integrations for your use cases.
Benefits of Amazon EKS: Why use EKS?
Through EKS, normally cumbersome steps are done for you, like creating the Kubernetes master cluster, as well as configuring service discovery, Kubernetes primitives, and networking. Existing tools will more than likely work through EKS with minimal mods, if any.
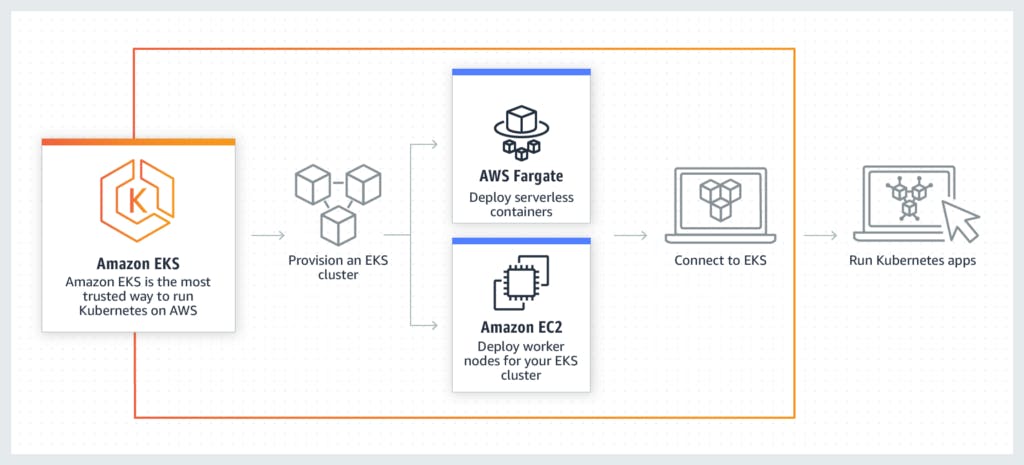
With Amazon EKS, the Kubernetes Control plane — including the backend persistence layer and the API servers — is provisioned and scaled across various AWS availability zones, resulting in high availability and eliminating a single point of failure. Unhealthy control plane nodes are detected and replaced, and patching is provided for the control plane. The result is a resilient AWS-managed Kubernetes cluster that can withstand even the loss of an availability zone.
And of course, as part of the AWS landscape, EKS is integrated with various AWS services, making it easy for organizations to scale and secure applications seamlessly. From AWS Identity Access Management (IAM) for authentication to Elastic Load Balancing for load distribution, the straightforwardness and convenience factor of using EKS can’t be understated.
What is Amazon Elastic Kubernetes Service (EKS)? | Sumo Logic
Getting Started
Some Pre-Requisites:
You need to have an AWS account. It cannot be the Starter Program since EKS is not supported there. Secondly, you must have a basic knowledge of AWS and Kubernetes. Third, you must have AWS CLI set up in your system with a dedicated profile allowing ADMIN Access so that it can directly use the EKS.
Although AWS CLI provides commands to manage EKS, but they are not efficient enough to perform complex tasks. Therefore, we are going to use another CLI built especially for EKS. You can download it from the GitHub link given below.
GitHub - Weaveworks/excel: The official CLI for Amazon EKS
Apart from that, we need to have kubectl installed in our system too, for communicating with the Pods running on EKS. It is a managed service so everything will be managed by it except kubectl command because it is a client program, which will help us to connect with the pods.
Starting the EKS Cluster
To start the EKS cluster, we need to set up a YAML file containing the infrastructure of the cluster. Information like the number of Worker Nodes, allowed EC2 instances, AWS key for connecting the instances with our local terminal and many more, are mentioned in this file.
After we write the desired infrastructure in our YAML file, we will have to execute the file with the EKSCTL CLI we have installed.
eksctl create a cluster -f cluster.yaml
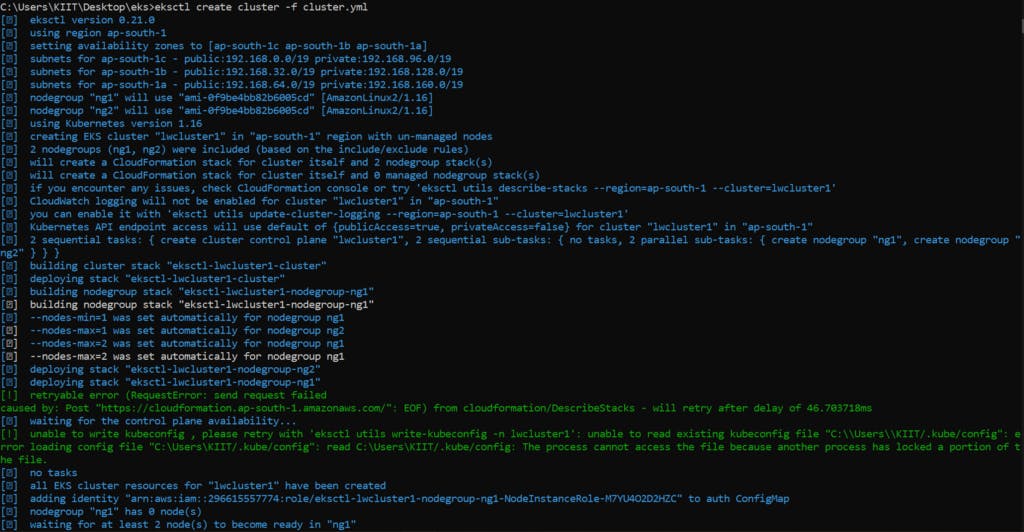
This command will create the entire cluster in 1 click. The creation of the cluster would take a certain amount of time.
Setting up the kubectl CLI
After the cluster is launched, we need to connect our system with the pods so that we can work on the cluster. Kubernetes has been installed in the instances already by EKS. Therefore to connect our kubectl with the Kubernetes on the instances, we need to update the KubeConfiguration file first. For this, we use the following command:
aws eks update-kubeconfig --name cluster1
We can check the connectivity with the command: kubectl cluster-info
For finding the number of nodes: kubectl get nodes
For finding the number of pods: kubectl get pods
To get detailed information of the instances on which the pods are running: kubectl get pods -o wide
Before we work, we need to create a namespace for our application in the K8s.
For that we use the following command: kubectl create namespace wp-msql
Now we have to set it to be the default Namespace:
kubectl config set-context --current --namespace=wp-msql
For checking how many pods are running inside the namespace ‘kube-system’ we have to execute: kubectl get pods -n kube-system
Installing WordPress and MySQL
Now, we are ready to install WordPress and Mysql in our cluster. For that, we need to copy the 3 files given below in a folder.
This file contains information about the different settings to be applied to our MySQL pod.
Similarly, this file contains information about the different settings to be applied to our WordPress pod.
At last, we create a Kustomization file to specify the order of execution of the files along with the secret keys.
After putting the above scripts in a folder, we can build the infrastructure using the following command: kubectl create -k .
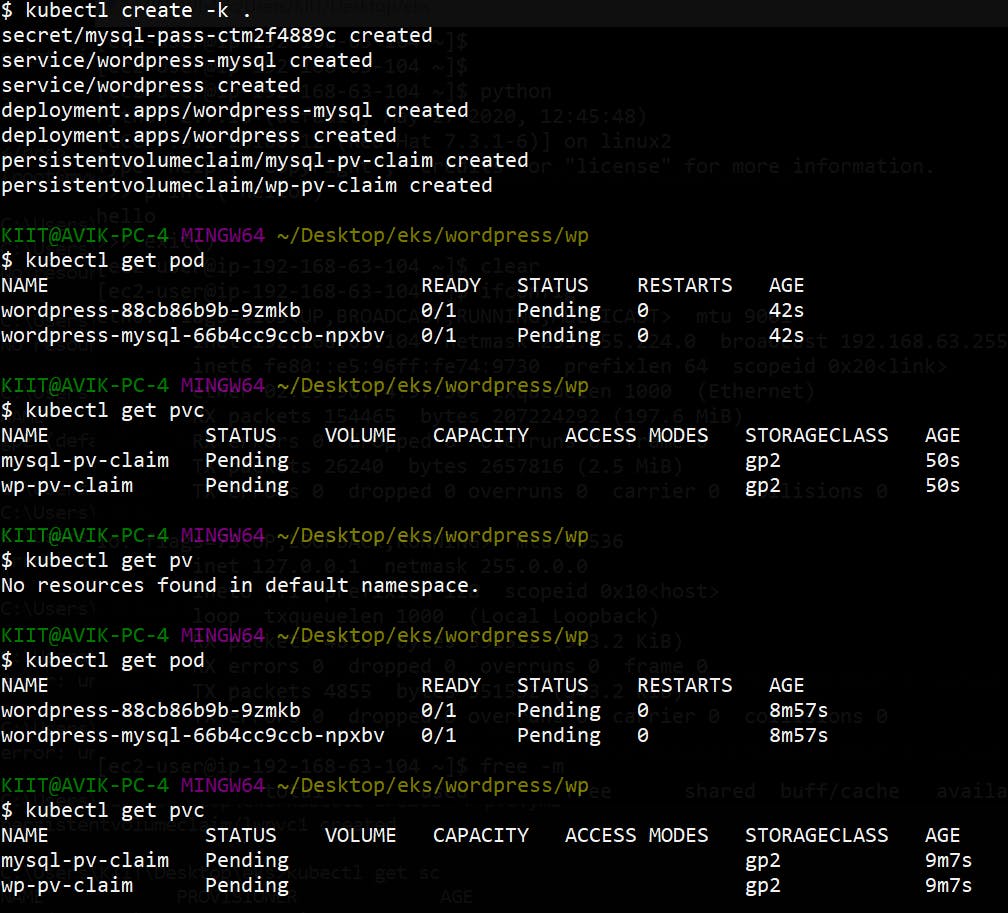
Our WordPress server along with MySQL is now launched in the EKS!
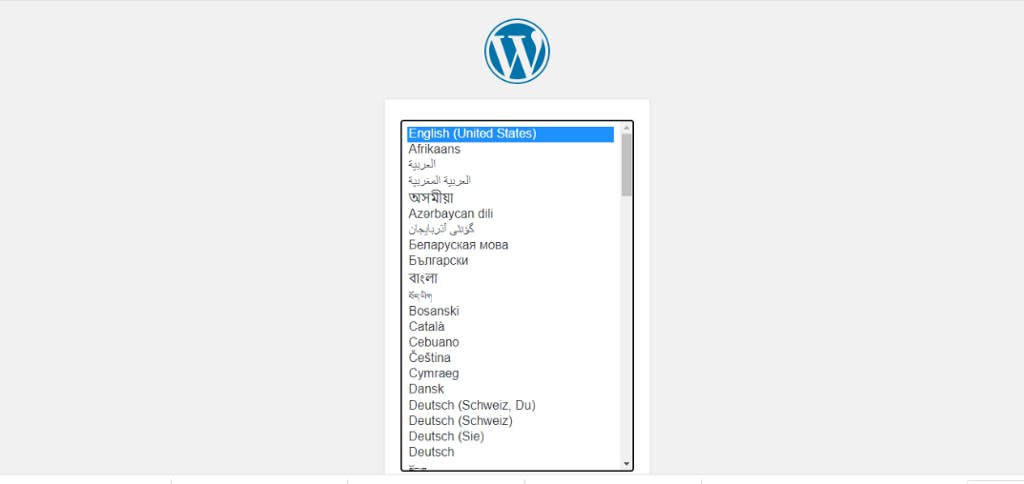
To customize the site, we need a URL to visit. For that, we will be using the Public DNS provided by the External Load Balancer (ELB).
On visiting the URL of the LB, we will reach this page.
After configuration and posting our first post, we will reach to this following page:

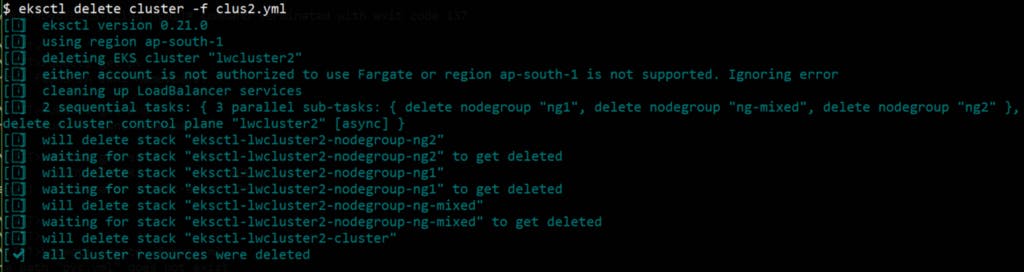
Shutting down EKS cluster
Since EKS is not a free service, it is better to shut down whenever it is not required. For that we use a simple command: eksctl delete cluster -f cluster1.yaml.
This will delete the entire cluster along with the EC2 instances, Load Balancers, etc. which were automatically created by EKS.
So, this was a basic walkthrough about the process of deploying applications on EKS easily.
Monitoring our Deployment
We can use the HELM to install monitoring tools like Prometheus and Grafana.
Helm is a tool for managing Charts. Charts are packages of pre-configured Kubernetes resources. It is a tool that streamlines installing and managing Kubernetes applications. It can be installed in the system with the following commands. A server-side tool called TILLER is also required.
Through HELM, it becomes easier to manage applications in Kubernetes on EKS. It has huge Libary of pre-configured code for various Softwares which can be installed with a single click.
For monitoring our Application, we need to install Prometheus and Grafana.
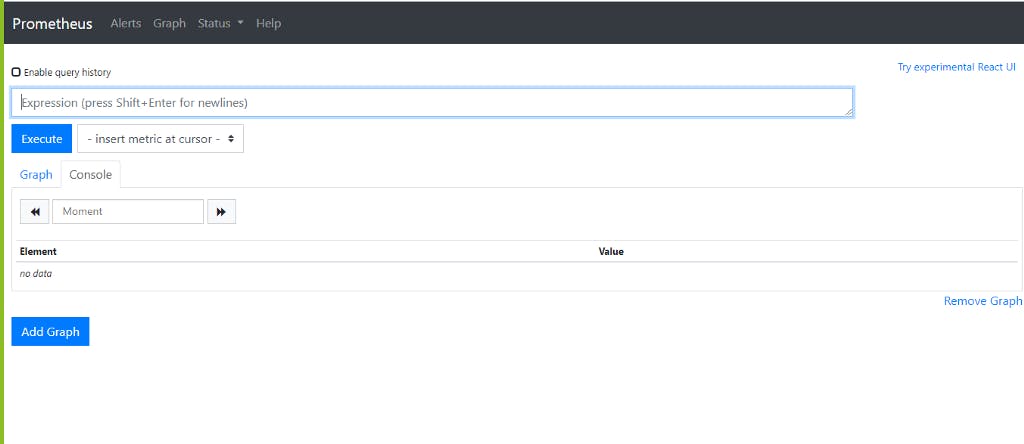
Prometheus
To install Prometheus through Helm, we use the following commands:
Since we have forwarded the port, visiting port 8888 will show the Prometheus screen.
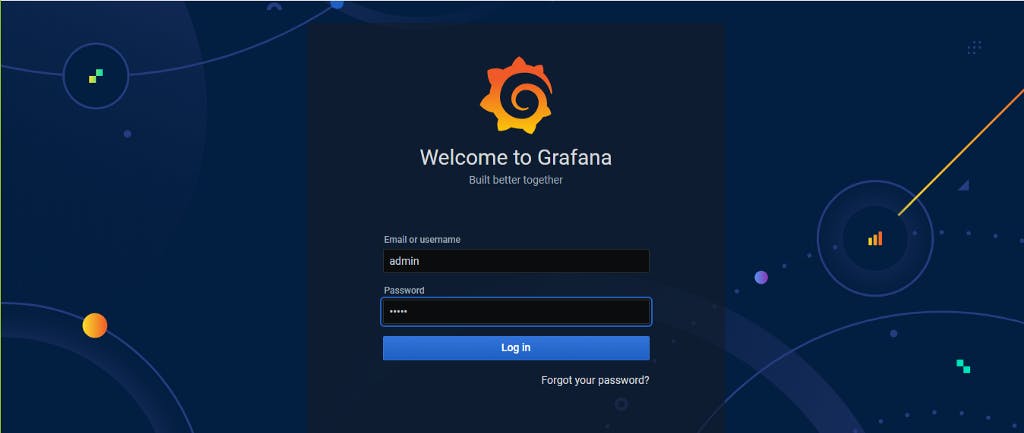
Grafana
To install Grafana through Helm, we use the following commands:
To get the IP address where Grafana is running, we type the following: kubectl get svc -n grafana . By visiting the URL of the LoadBalancer, we see the Grafana screen.
Other Modifications
Amazon EFS
There are mainly 3 different types of storages available: File, Block and Object Storage. By default, EKS will set the storage system for the clusters as Block Storage and will be using EBS for that.
Instead of using EBS as our storage service for our data, we can use Amazon EFS or Elastic File Storage. EFS is highly preferred because it allows connecting to multiple instances at once, which EBS does not. For implementing EFS, we need a provisioner since it is not provided by default.
AWS EFS: Is It the Right Storage Solution for You?
Amazon Fargate
This is what AWS Fargate is about. It completely abstracts the underlying infrastructure, and we see every one of our containers as a single machine.
We just have to specify what resource we need for every container and it will do the heavy lifting for us. We don’t have to manage multi-layered access rules anymore. We can fine-tune the permissions between our containers like we would do between single EC2 instances.
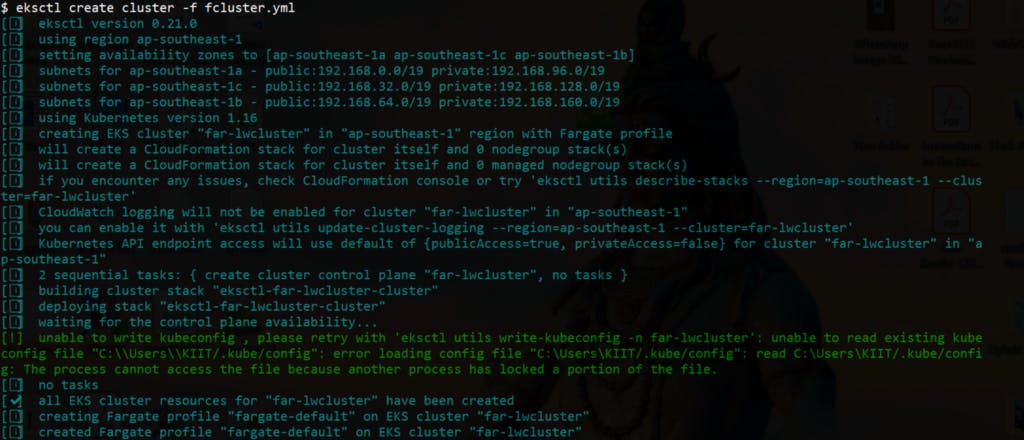
We can launch a Fargate cluster similar to the EKS cluster. The configuration has to be set as the following:
We can launch the above cluster by executing the command: eksctl create cluster -f fargate_cluster.yaml
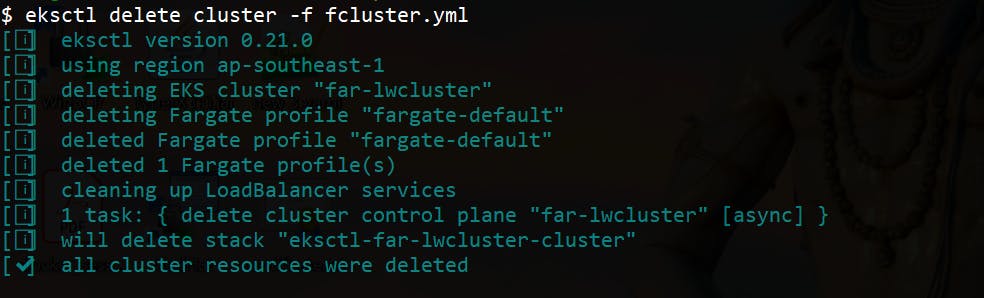
Since Fargate is more advanced than EKS, the charges are higher than EKS. We can shut down the entire Fargate Cluster by the command: eksctl delete cluster -f fargate_cluster.yaml
An intro to Amazon Fargate: what it is, why it's awesome (and not), and when to use it.
All codes for the walkthrough are published in the Github account.
You can reach out on my Twitter, Instagram, or on LinkedIn if you need more help. I would be more than happy.
If you have come up to this, do drop an 👏 if you liked this article.
Good Luck 😎 and happy coding 👨💻